Comprehensive Guidance for Seamless Integration and Optimal Performance
Maximize efficiency and drive growth with intelligent automation and streamlined processes.
Empower Your Business with a
Next-Gen CRM
Your all-in-one CRM platform to:
Streamline workflows
Automate processes
Boost client engagement

we service clients from a range of industries
Marketing
Accounting
Tech Support
E-commerce
Real Estate
Hospitality
Healthcare
Education
Legal
How Our Process Works

Assess &
Strategize
We analyze your business needs and identify areas for optimization and automation.

Develop & Customize
Tailored solutions are designed to streamline operations and improve efficiency.

Implement & Integrate
We deploy automation tools and seamlessly connect systems for smooth workflows.

Optimize &
Scale
Continuous monitoring and adjustments ensure long-term growth and scalability.
Steps to Setting Up your CRM
Setting up your Vanguard Engage CRM account is a structured process designed to ensure seamless integration and optimal performance. Follow the steps below to configure your account effectively
1. Assign Users to Subaccounts
Navigate to Agency > Settings > Team
Ensure each user is assigned to the appropriate subaccount
2. Configure Phone Integrations
Go to Agency > Settings > Phone Integrations
Enable LC Phone and confirm that the subaccount is managed by LC Phone
Switch to the subaccount, then proceed to Settings > Phone #s
Purchase a phone number if necessary. For regions outside the US, CA, or UK, create an ADDRESS & REGULATORY MOBILE bundle first, await approval, and then acquire the phone number.
3. Complete Toll-Free Registration or Trust Center Setup (for messaging within the US)
Follow each step meticulously
For Sole Proprietors in CA & UK, use personal names instead of business names
Ensure the consent page:
Has a live link
Includes a form or survey with an agreement checkbox, along with links to Terms & Conditions and Privacy Policy
Provides a "text START to (LC PHONE # you just bought)" feature
4. Set Up Email Services
Within the subaccount, navigate to Settings > Email Services
For a dedicated domain:
Request the client to log into their domain host and access the DNS records page
Add the lc.rootdomain.com, discuss the warm-up process, refer to the Sending Guide, then add and verify
Manually add 5 DNS records to the domain host
Add a DMARC DNS Record:
Record type: TXT
Hostname: _DMARC
Value/target: v=DMARC1; p=none;
Verify all records are green, the domain is active, and SSL is issued
5. Configure Email Headers
Click on the three dots for the dedicated domain, select Set Headers, and have the client complete the details. Ensure the "from email" matches the email domain
6. Whitelabel Setup (for the agency):
Navigate to Agency > Settings > Company
Add the agency logo if available
Add two CNAMES on the domain host:
Whitelabel Domain:
Hostname: app
Points to/value: whitelabel.ludicrous.cloud
API Domain:
Hostname: link
Points to/value:brand.ludicrous.cloud
On the Company Tab
Whitelabel Domain: app.(client'sdomain.com)
API Domain: link.(client'sdomain.com)
7. Integrate Third-Party Platforms
Connect Google My Business (GMB), Google Calendar, Facebook, and Instagram pages as needed.
8. Edit Calendar and Sync Profiles
Edit the calendar with the client
Under My Profile, synchronize with Google or Outlook
9. Set Up Reputation Management
Provide an overview and upload the logo if applicable.
10. Configure Custom Values
Add information for each custom value.
Ensure the "from email" matches the email domain set up earlier.
11. Additional Configurations (if time permits)
Connect Funnel to Domain (if necessary)
Review Funnels and Forms:
Access the funnel library and forms
Discuss pipelines and transition to workflows (Subaccount > Sites)
Review Pipelines and Stages (Subaccount > Opportunities)
Examine one of the Workflows
Provide resources (help center, Facebook group) and support options (blue question mark)
By meticulously following these steps, you ensure that your Vanguard Engage CRM is set up efficiently, tailored to your business needs, and primed for optimal performance.

Ready to Elevate Your Business with Vanguard Engage?
Take your business to the next level and see impactful results.
Welcome to Vanguard Engage, the all-in-one CRM platform designed to streamline workflows, automate processes, and boost client engagement.
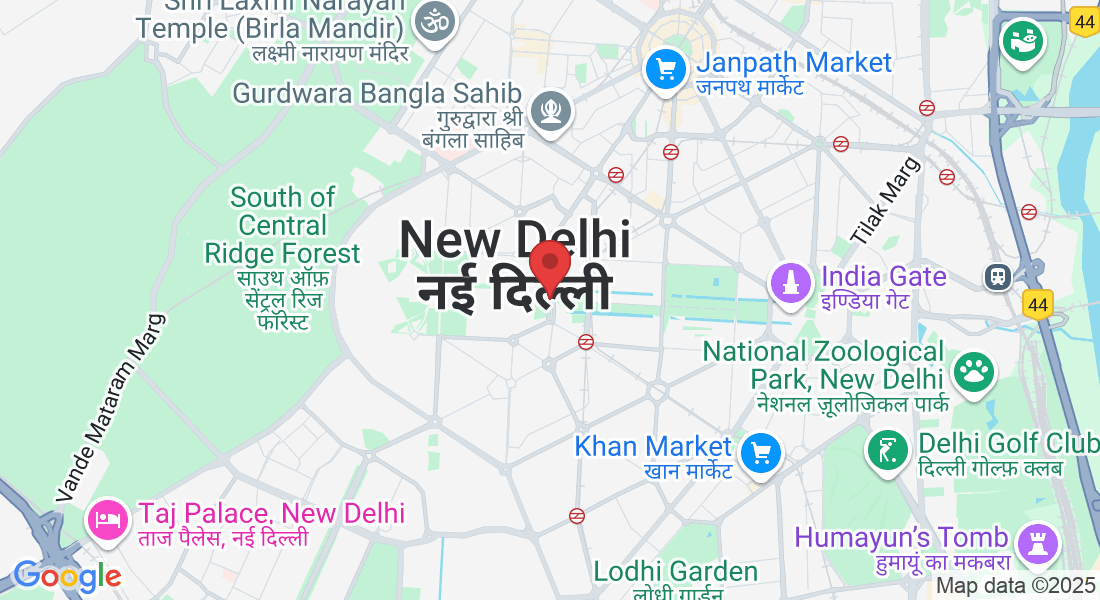
Tech Center
New Delhi, Delhi,
India
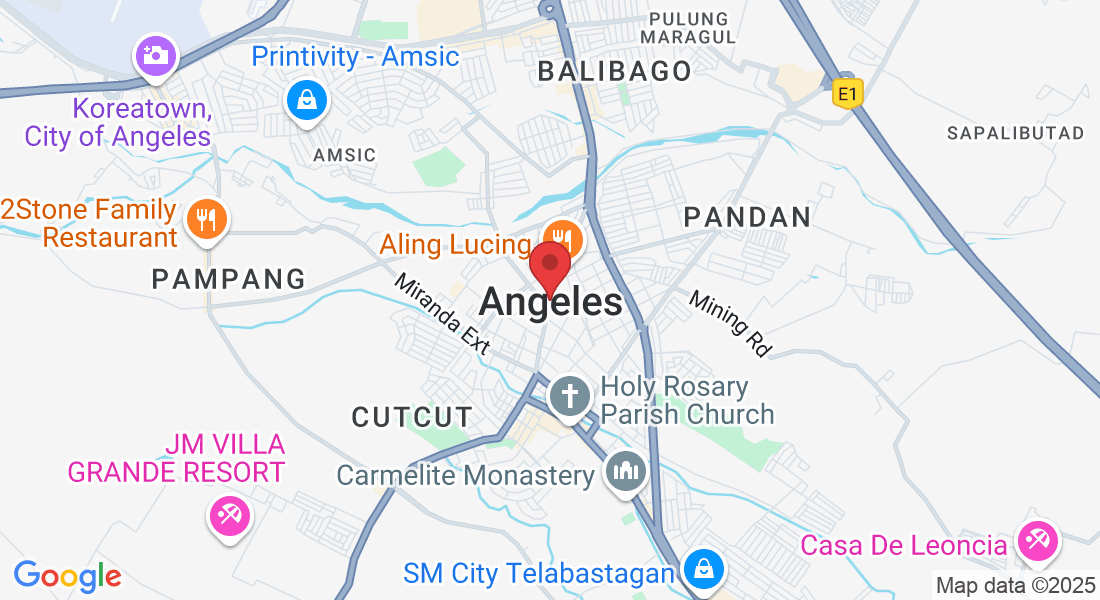
Support Center
Angeles City, Pampanga,
Philippines
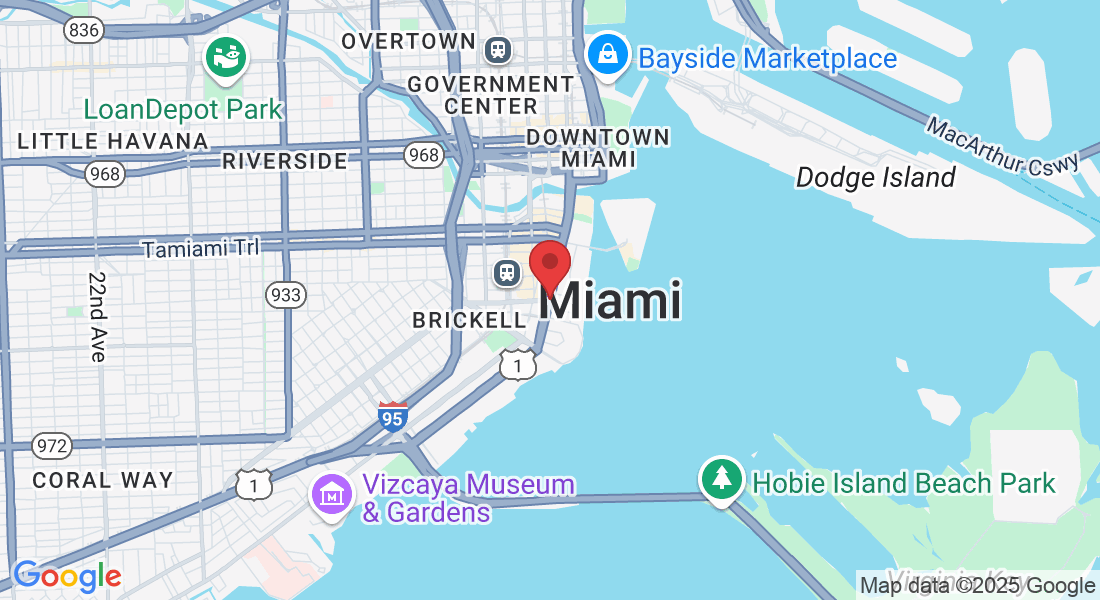
US Office
990 Biscayne Blvd #501
Miami, FL 33132